Lens flare has this magical way of turning ordinary scenes into epic moments on screen. Yet we often forget about how the Photeeq lens flare module handles the subtle glow and streaks. Most photographers obsess over lens coatings and angles, but they rarely check the flare engine parameters in their editing tools. Could overlooking these digital flare controls be costing you the shot you imagined?
Knowing how the Photeeq flare engine works gives you full control over that glow. It helps you decide when to dial it up for drama or dial it back to avoid unwanted artifacts. By understanding these settings, you’ll spend less time fixing flare in post and more time capturing the look you want. Let’s dive in deeper to see how this knowledge can transform your photos.
Lens Flare Basics
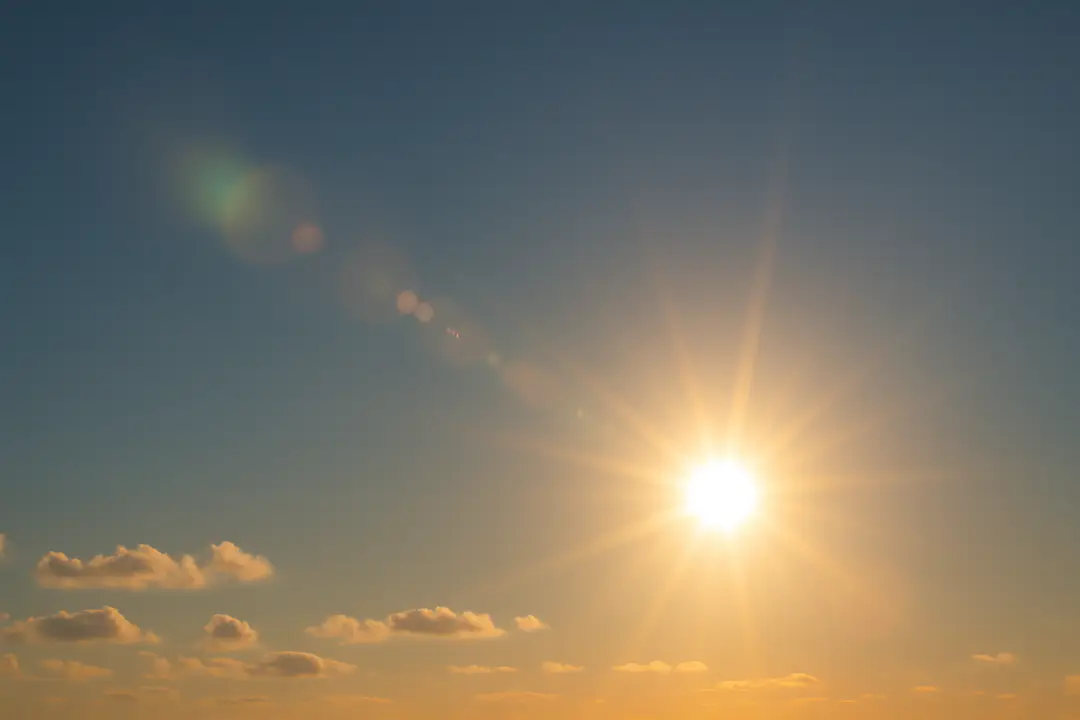
Lens flare happens when bright light enters the lens and scatters inside, creating streaks, rings, or ghost images. It can be a creative tool or a distracting issue. The two main types are veiling flare, which lifts overall brightness, and ghosting flare, which shows distinct shapes. Knowing these types helps you predict what you’ll get with different light sources.
Light angles matter most. Shooting into the sun gives strong streaks, while angled light can add a soft glow. Tip: place the sun just out of frame for a mild effect. Move around and watch how flare changes. That simple step can save major editing time later.
Understanding real flare behavior also informs your software approach. Once you know how the rays bend, you can match those patterns in the Photeeq engine. This synergy between capture and processing is key to consistent, polished images.
Photeeq Flare Engine
The Photeeq flare engine is a digital tool that mimics real optical flare patterns. It models reflections between lens elements, recreating realistic ghost shapes. You’ll find controls for intensity, color bleed, and shape count. Adjusting these sliders changes how the flare blends with your image.
For example, turning down the color bleed cuts vivid halos, while boosting intensity makes the glow more pronounced. The shape count slider lets you choose between a simple starburst and multiple ghosts. These parameters let you craft subtle or dramatic looks with ease.
Photeeq also offers presets for common setups. You can import profiles based on lens type or shooting conditions. This feature speeds up your workflow by giving a solid starting point. From there, tweak the values until the flare feels natural to your scene.
Capture Techniques
Good flare control starts in camera. Use lens hoods, flags, or even your hand to block unwanted light. This reduces spurious ghosts and keeps your main subject clear. Practice moving the hood slightly until stray rays disappear.
When planning a shoot, especially on the road, think about gear limits in travel. Air travelers often face weight restrictions that affect what you carry. Check the airline luggage rules before packing extra filters or hoods.
Bracketing exposures can also help. Take multiple shots with different aperture settings. Wider apertures often increase blur and soft glow, while smaller ones produce defined star shapes. Later, pick the shot that best suits your scene and bring it into Photeeq for fine tuning.
Editing With Photeeq
Once you import your image into Photeeq, you can refine the flare through a simple interface. Here’s a quick comparison of three common flare modes:
| Mode | Intensity | Control |
|---|---|---|
| Soft Glow | Medium | Color, Size |
| Streak | High | Angle, Count |
| Bokeh Shape | Low | Shape, Brightness |
Start by choosing a mode that matches your original flare type. Then adjust intensity and shape to blend seamlessly. You can also add a tint to match the scene’s mood. For sunset shots, a warm orange glow ties everything together.
If you need subtle hints, lower the opacity slider. For magazine-style drama, crank it up. Photeeq’s real-time preview shows your changes instantly, so you don’t waste time guessing.
Choosing Right Gear
Not all lenses handle flare the same. Prime lenses with high-quality coatings usually show fewer artifacts. Telephoto lenses often produce distinct ghost shapes at certain angles. Knowing your gear’s flare profile helps you plan your shot.
Here are a few accessories to consider:
- Lens hoods matched to your focal length
- Neutral density filters for balanced exposure
- Polarizers to cut reflections
- Soft flags to block stray light
While smartphone cameras have improved, some models handle flare better out of the box, like the Honor Magic 5 Pro. Its lens coatings reduce random ghosts, giving you clean images that need less digital correction in Photeeq.
Flare Troubleshooting
Even with the best setup, flare can surprise you. Common issues include edge haze, colored streaks, and unexpected ghost shapes. The first step is to isolate the cause. Check your lens surface for dust or smudges; a quick clean can fix many problems.
In low light, digital noise might look like flare artifacts. Use a moderate ISO and clean up noise before applying flare in Photeeq. This keeps your glow crisp and avoids muddy patches.
In news contexts, controlling stray light is vital for reliable visuals on news portals. A basic lens hood combined with Photeeq’s soft glow mode can give your shots a professional finish, even under harsh lighting.
If you still see unwanted artifacts, revisit your flare engine settings. Lower the shape count or reduce intensity. Sometimes dialing back is the best solution.
Conclusion
Understanding Photeeq lens flare blends the technical and creative sides of photography. From mastering real-world capture tips to exploring digital engine controls, you gain full power over your images. You’ll avoid unwanted surprises and cut down on editing time by matching your shoot style with flare settings.
Remember, flare is not just a defect. It’s a tool to add mood and drama. Each step—from choosing the right gear to tweaking software sliders—builds on the last. When you tie capture and editing together, you create a seamless workflow that reflects your vision.
Go forth and experiment. Plan your next shoot with flare in mind, set up your gear thoughtfully, and wield the Photeeq flare engine confidently. Your photos will stand out with that perfect glow, ready to engage viewers and tell your story.
As you continue to shoot and edit, take notes on how different flare setups affect mood. Keep a simple flare diary, logging your settings and results. Over time, this practice turns experimentation into instinct. With practice, you won’t need to second-guess; you’ll know exactly which settings create the look you want in any light.