Integrating technology like Classroom 30x has reshaped modern teaching, offering dynamic tools for collaboration and immersion. However, many educators focus on the device’s impressive display and forget about its advanced audio management capabilities. Those built-in microphones and speakers can make or break a lesson. How can you make sure Classroom 30x’s audio delivers clear sound in diverse classroom settings?
By diving into the device’s sound control features and network settings, you can guarantee a smooth experience every time. Understanding these options helps avoid feedback loops, dropped connections, and surprise echoes. With clear audio, students stay engaged and teachers stay confident. Let’s explore how mastering this aspect can take your lessons from good to great.
Evaluating Classroom 30x features
Classroom 30x stands out with a high-resolution touch display, multiple input ports, and robust security controls. It supports 4K video, HDMI and USB-C connections, and a user-friendly operating system. In contrast, older models like Classroom 6x lacked built-in collaboration software and had limited audio tuning. For a look at more basic setups, see this resource on smaller classroom setups.
The integrated camera on Classroom 30x offers auto-framing and presenter tracking. That means the camera adjusts to keep the teacher in view without manual tweaks. Educators benefit from quick start modes that remember last settings. This convenience cuts launch time and keeps lessons on schedule.
Security features like user profiles and encrypted connections protect class data. Each teacher can have a custom login backed by password or video verification. IT teams can remote-manage updates and patches to stay ahead of threats. All combined, these features mean reliable performance and peace of mind.
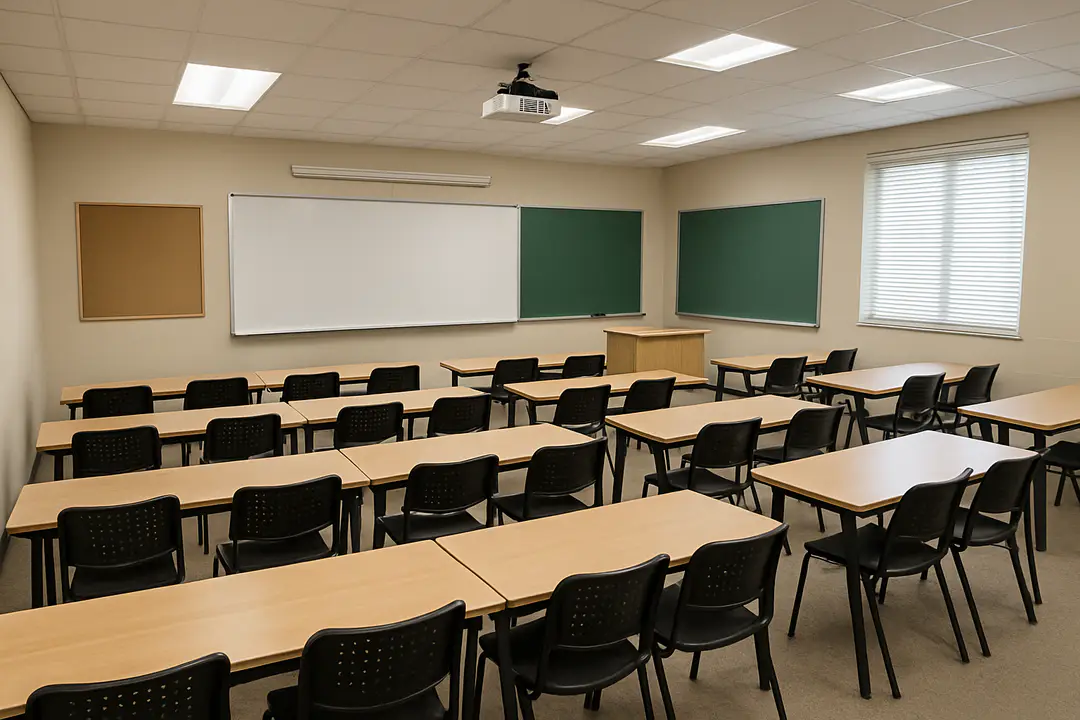
Setup and Installation Steps
Getting Classroom 30x ready requires clear planning and simple steps. Begin by unboxing the unit and checking all accessories—power cable, remote, stylus, and mounting gear. Next, choose a sturdy wall mount or stand for the display. It should support the weight and allow easy viewing angles.
1. Position the display at eye level on a stud or solid surface.
2. Connect the power cable and plug into a surge protector.
3. Hook up HDMI or USB-C input to your computer or media hub.
4. Use the included stylus to calibrate touch sensitivity via on-screen prompts.
After hardware is in place, power on the device and follow the on-screen setup wizard. Connect to your school network via Wi-Fi or Ethernet and install any pending firmware updates. Finally, log in with your admin account, create teacher profiles, and set up default display modes.
With these steps, you’ll avoid common pitfalls like loose mounts or incorrect input settings. Now your Classroom 30x is ready to host lessons, video calls, or interactive polls without hiccups.
Optimizing Audio and Video
Clear audio and sharp video are vital for engagement. Classroom 30x includes built-in echo cancellation, auto volume control, and noise suppression. To use these, open the audio settings menu and turn on advanced sound modes. Adjust the room profile to match your space—small, medium, or large classroom.
For video, enable auto brightness and contrast adjustment. This feature adapts to changing light, such as bright windows or dim projectors. If the picture appears washed out, manually tweak the color temperature and gamma gain. Make small changes until skin tones look natural.
Test audio by playing sample clips from different sources—computer, tablet, or USB drive. Walk around the room to listen for dead zones or hotspots. If some seats hear poorly, consider adding a low-profile speaker or a wireless mic for the teacher.
These simple adjustments make content clearer and keep students focused. A lesson with muffled sound or glare can cause off-task behavior. By fine-tuning audio and video, you foster a more inclusive environment where every student can join in.
Enhancing Engagement Tools
Beyond basic display and sound, Classroom 30x offers tools that boost interaction. Use the built-in digital whiteboard to sketch diagrams or annotate presentations in real time. Students can share screens wirelessly from tablets or phones, making group tasks more dynamic.
Interactive polls and quizzes integrate with popular platforms. Launch a quick question, and see instant results as charts on screen. This feedback loop keeps energy high and points out topics that need review. Encourage shy students by letting them respond anonymously.
You can split the screen to show two or three sources at once. For example, live camera feed on one side and slides on the other. This multitasking helps when you need to compare examples or show different perspectives.
Tip: Schedule a short tech check at the start of each week. Confirm that software updates didn’t reset your settings. This habit prevents last-minute surprises and builds trust in the tool.
Managing Connectivity Issues
No tech is perfect, but quick fixes keep lessons running. If Classroom 30x drops Wi-Fi, switch to the Ethernet backup port. Label cables to speed up reconnection. If you see pixelation in video calls, lower the resolution setting to 720p temporarily.
For stubborn network problems, assign a static IP to the device. That prevents DHCP conflicts. Ensure your router firmware is current, and place the unit away from thick walls or metal structures that block signals.
When HDMI or USB-C input fails, swap cables before tinkering with deeper settings. Keep spare cables in a drawer. If audio cuts out, check the device’s volume lock—sometimes locks engage after updates.
Document common fixes in a shared folder for teachers and IT staff. A short guide can save 10 minutes per incident. Over time, this log highlights recurring issues and helps teams request long-term solutions.
Comparing Alternatives
While Classroom 30x excels in many areas, it’s wise to weigh alternatives. Models like Classroom 15x aim for smaller budgets, while premium options focus on ultra-high resolution or large screens. We’ve compared three popular setups:
| Feature | Classroom 30x | Classroom 15x | Advanced 75x |
|---|---|---|---|
| Resolution | 4K UHD | 1080p FHD | 4K UHD |
| Audio | Echo cancel | Basic mic | Multi-mic array |
| Price | $$$ | $$ | $$$$ |
| Interactive Tools | Yes | Limited | Yes |
For deeper dives into other models, check out this guide on advanced classroom models. Always match features to your teaching style and budget before deciding.
This comparison helps clarify which device fits your needs. A lower-priced unit might save upfront costs but lack critical tools long term. Conversely, a high-end screen could be overkill for small spaces.
Thinking through these options ensures you invest in the right tech today, avoiding regret tomorrow.
Conclusion
Classroom 30x combines sharp visuals, clear audio, and rich engagement features in one package. By taking time to explore its capabilities—from audio tuning to interactive polls—you unlock its full value. Careful setup and ongoing maintenance prevent most hiccups and keep lessons flowing.
Comparing alternatives helps you choose the device that matches your classroom size, budget, and teaching goals. A clear plan, backed by simple guides, ensures tech enhances rather than hinders learning. As you master these tips, you’ll create an inviting digital space where students stay focused and excited.
Reach out to colleagues or IT staff with your own best practices. Share feedback with manufacturers so future updates keep getting better. With Classroom 30x at the heart of your tech strategy, you’re ready to deliver engaging lessons without unnecessary stress.


